Step 3: Drill countersink holes
Lay out your pieces how you want them. Examine your boards for any knots and where you want them to be, among other things. When everything is as you want it, turn the entire thing over so that the 1x6s are upside down on top of the 1x4s and the 1×4s are upside down on the bottom.
Now drill your countersink holes. Make sure they only reach about halfway into your lumber to avoid them getting too far down. If you’re not familiar with countersink bits, they are used to chisel out a tiny space where the screw head will rest. In this manner, it won’t be above the wood and might potentially scratch your cooktop.
On each board, I bored four holes—two on each side. Just make sure they will catch the 1×4 board below.
Step 2: Sand and prep lumber for your stovetop cover
I like to sand my pieces twice: once before assembly and again after. Although this is a matter of taste, it will be very beneficial to get in between the boards. For this first sanding, I use a coarser grit; use 80 or 100 grit, depending on the shape of your lumber.
Learn how to build a DIY noodle board using this easy to follow tutorial. This noodle board can be built using scrap wood you have on hand, or purchase the wood of your choice and customize it any way you like!
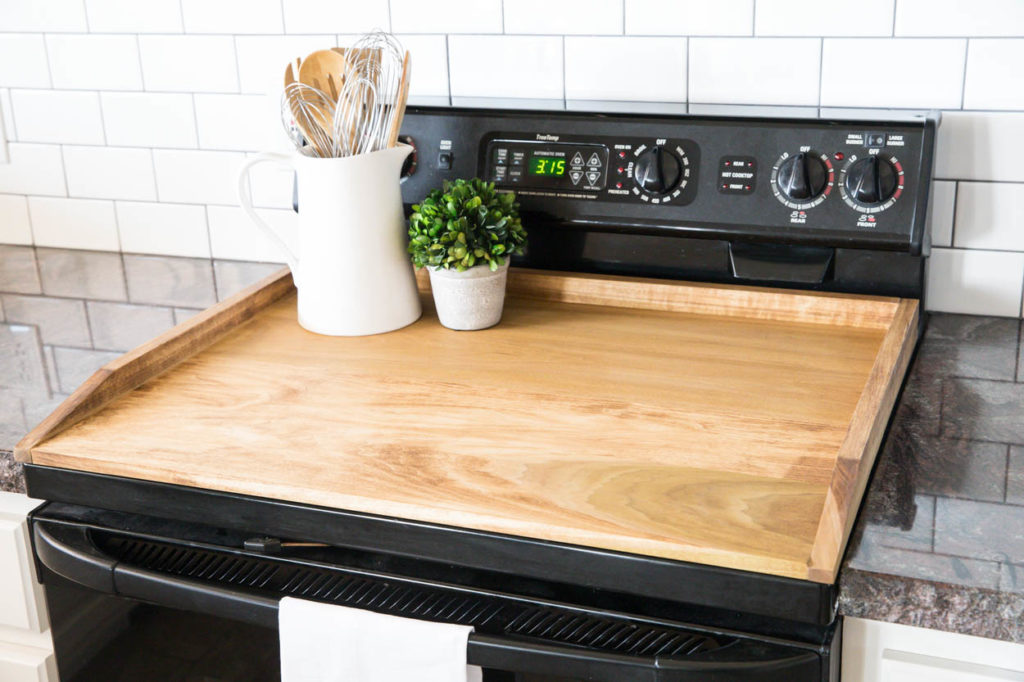
It’s time for another DIY challenge every month! To create this month’s project, participants had to rummage through their scrap wood pile. The rules were pretty simple. Scrap wood only; however, fasteners, hardware, and finishes are allowed. I decided to build a DIY noodle board. Don’t worry if you’re wondering what a noodle board is. I had to Google it, too. I thought this would be the ideal project to build with my leftover scrap wood after receiving a few requests for a tutorial!
I’m pretty sure you’ll be amazed and inspired by what everyone else created when you scroll to the end to see what they made out of their scrap wood!
