Kenmore residential clothes dryers are reliable, easy-to-use appliances that are manufactured by the Whirlpool Corporation. When Kenmore dryers are given regular care and maintenance, its not unusual to go for years without having to schedule an appointment for repair service.
If your Kenmore dryer does malfunction, oftentimes all it takes to solve the problem is a simple circuit breaker reset. Perform this simple reset and have your dryer working again in minutes.
Test your Kenmore dryer after resetting it by selecting and starting a heated drying cycle; the appliance should operate normally.
If you are continually having to reset your Kenmore dryer, a faulty internal component may be to blame. Troubleshoot and repair the appliance yourself or contact Kenmore customer support to schedule a service appointment.
Megan Mattingly-Arthur has been writing professionally since 1998. She has contributed to various publications, including “Teen Voices” and “Positive Teens” magazines, as well as a book, “The Young Writers Guide to Getting Published.” Mattingly-Arthur is studying travel and tourism through Penn Foster Career School.
How to Reset Kenmore Dryer Timer
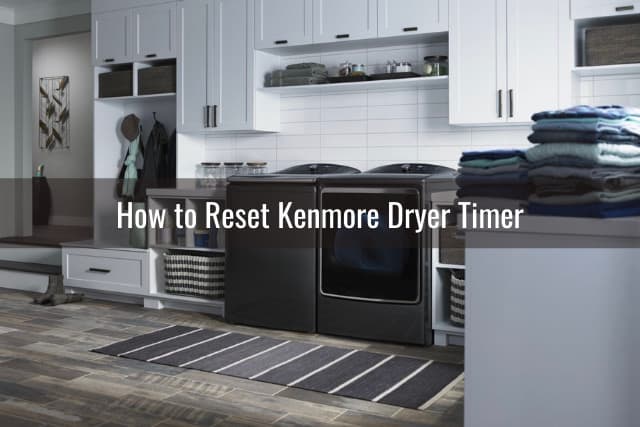
Your dryer timer is something you probably didn’t think much about until it exhibits a failure. The dryer timer controls how long drying cycles go on, so that the dryer turns off when the cycle is complete. The dryer timer is run by a motor that controls the operation of the dryer. Resetting the Kenmore Dryer Timer is a relatively simple process.
If you want to reset your Kenmore Dryer and reset your Kenmore Dryer Timer, unplug the dryer, and let the dryer cool down for about thirty minutes. You can also use the circuit breaker to shut off power to the dryer. Now, check to see if the Kenmore Dryer works properly.
If the problem persists, you need to test the dryer timer motor. To do this, you will need a towel, a needle nose pliers, a screwdriver, and a Multimeter.
Unplug the dryer or turn off power at the circuit breaker. Now begin to take out the dryer’s control panel. Put the towel on the top of the dryer so that you do not scratch or abrade the top of the dryer as you are working on the dryer motor.
Find the dryer timer which is on the Control Panel. It will usually appear as a Dial with various settings, such as delicate dry or timed dry or normal dry.
Once you see the screws that are supporting the control panel, take them out and put them somewhere where they will not be misplaced.
Now, carefully take the control panel off and lay it facing down on the towel. Then, check out the wires that are connected to the timer motor. You will usually find that the wires connected to the timer motor are slightly larger than the surrounding wires.
Use the needle nose pliers to take one of the power leads off from the terminal. To do this, be sure to pull on the connector with the needle nose pliers and not on the wires.
Now test the timer motor by first lifting the dryer Control Panel to be able to get to the timer dial. Now, set it to Dry Normal. Be sure to set your Multimeter to Ohms and press one of the probes onto the motor terminal in the place where you removed the power lead.
Copywrite article owner is Readytodiy.com for this article. This post was first published on 2022-01-05..
Press another probe to another area of the terminal. You will be looking for a reading of zero. If you do receive a higher reading, it means that the timer motor is not functioning and will need to be replaced.
If you decide to replace the dryer timer yourself, you will need a quarter inch nut driver, a screwdriver, needle nose pliers, a camera or a marker and a new dryer timer.
First, make sure to completely turn the power off. Now, remove the timer dial from the control panel. Pull it directly out and put it to the side. Gain access to the back of the dryer and use the nut driver to take off the back panel. Then, put these aside.
Now, before you remove the dryer timer, take a picture of it first so you can remember its exact placement. Take the wires off from the rear of the dryer timer. Use your screwdriver to take out the screws that are holding the dryer timer in position.
Now pull the old dryer timer out and throw it away. Place the new dryer timer in place and replace the screws where they were previously. Reattach all the wires exactly as they were before as seen in the photo taken previously.
After you have fully replaced the dryer timer, put the back panel on and replace the screws previously removed. Now turn the power back on and test the dryer for full functionality.
If this fix still does not work, you may need to consider consulting a certified Kenmore Service Technician.
How to Reset Kenmore Dryer Belt Switch
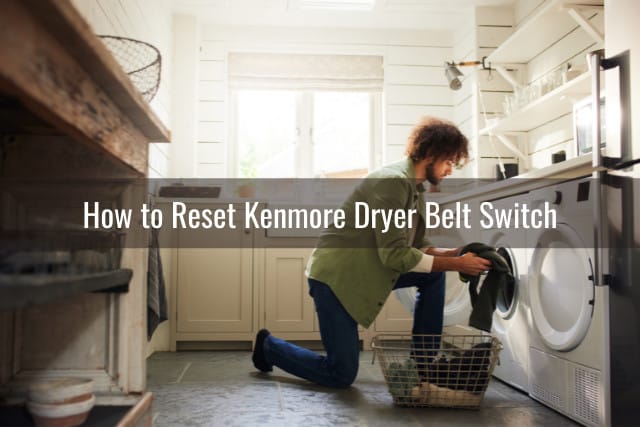
The dryer belt switch is attached to the dryer belt tension pulley. It is designed to open if the dryer belt breaks to stop the dryer from continuing to operate. It can be quickly reset or replaced if necessary and this will allow the dryer belt to function normally.
If you want to reset your Kenmore Dryer and reset the Kenmore Dryer Belt Switch, unplug the dryer. Then look for the dryer belt switch that is located on the dryer belt. Take off the two screws on the top cover and remove the top cover. Pull up on and release the control panel.
Lift up the drum and remove it from the dryer. Go ahead and test the Kenmore Dryer Belt Switch Motor with a Multimeter. If it is faulty, replace it with a new switch and replace all the wires and parts and the dryer belt. Rotate the drum clockwise. Reinstall the five screws.
Kenmore Dryer Not Heating After Replacing Heating Element

If your Kenmore dryer is not heating after replacing the heating element, there may be a problem with the thermostat. The thermostat is a small, round device that is located inside of the dryer and is attached to the top of the heating element.
When the thermostat senses that it’s time to turn on the heating element, it sends a signal to start it up. This signal could be disrupted if any of these four things happen:
The thermostat wire becomes disconnected from its terminal on the main wiring harness. This would prevent electricity from reaching the thermostat and turning on the heating element. The thermostat has gone bad and needs to be replaced.
A faulty or loose connection between the terminal on the main wiring harness and the terminal on the thermostat would prevent electricity from reaching it. The wires in either one of these connections are touching each other or something else inside of your dryer (like clothing) which could interrupt electrical flow through them.
There is too much lint or something else around either one of these two connections which could cause them to short circuit. If you think any of these problems might be what’s causing your dryer not to heat up, then you’ll need to complete this repair before you can use your dryer again.
FAQ
How do I manually reset my Kenmore dryer?
How do you reset the heating element on a Kenmore dryer?
